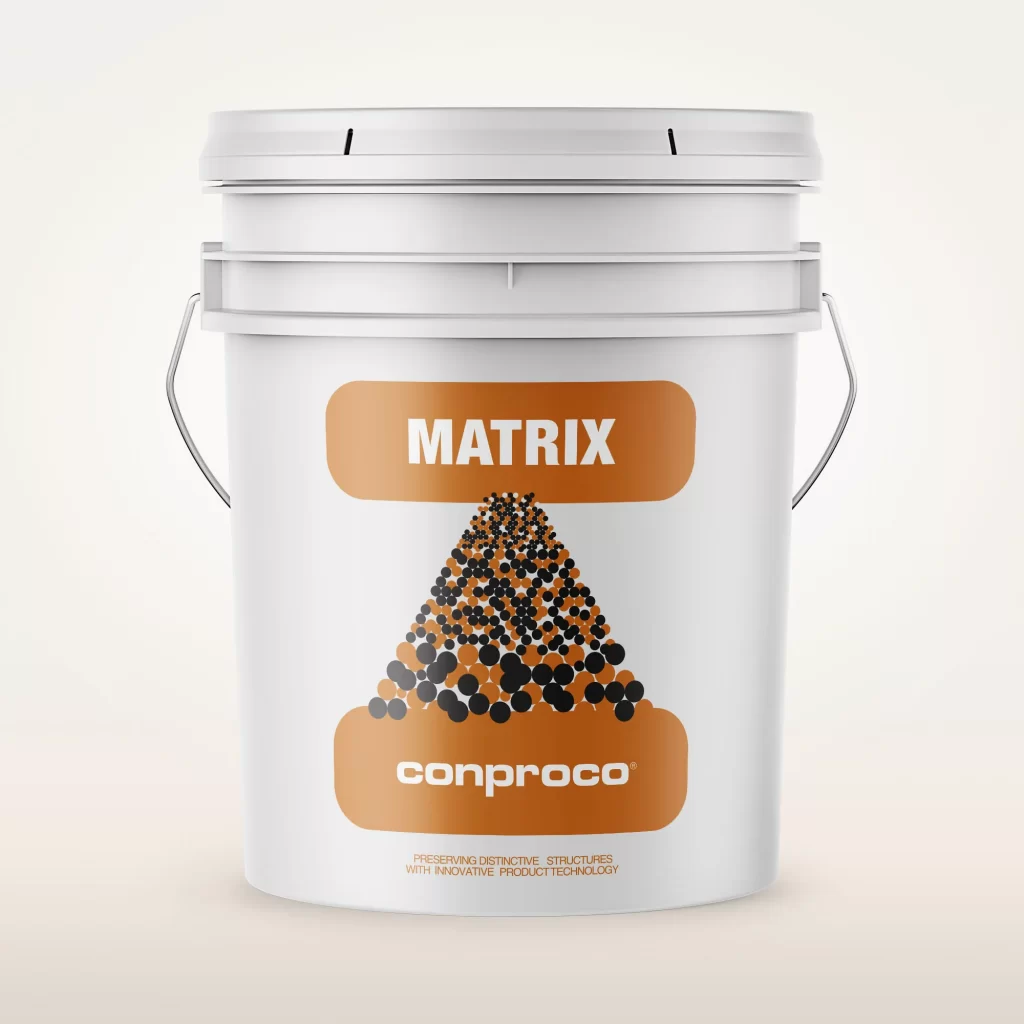
Conproco Matrix: Repair Mortar 50lb Pail
$430.00
- Yield: 12 Sq. Ft./pail at 1/2″ repair depth
- Setting Time: 4 hours
- Low Shrinkage-Maintains integrity of repair, resists cracking.
- Thermal Compatibility -Prevents delamination due to temperature change.
- Durable-Resistant to weathering action, excellent freeze/thaw stability and abrasion resistance.
- Very low permeability -Resistant to deicing salts, chloride, and chemical attack, and environmental pollution.
- Breathability -Will not cause damage to structure by restricting moisture vapor flow.
- Shaveable -Recreate sharp edges and architectural details.
- Single component -Easy to batch in less than full pail quantities.
- On-site color matching -Great matches, no wait for factory samples.
SKU: N/A
Categories: Conproco, Metal, Multi component, Steel, Waterproofing
Tags: 50lbs bag, bucket, Concrete, Concrete Repair, motar, Repair
Conproco Matrix is Trowel applied, cementitious repair mortar, formulated to be compatible with the color and physical properties of parent material.
WHERE TO USE –Repair and reconstruct natural and cast stone, terracotta, and brick. Unique on-site color matching by trained, certified technicians.
Questions? Contact Us
Surface Preparation
-
- Remove loose and deteriorated material, laitance, dirt, dust, oil and any surface contaminants that will inhibit proper bond.
- Saw cut edges with a diamond blade at a 90° angle to eliminate feather edging. Avoid polishing the edges, as this will inhibit bond.
- Avoid bruising or micro cracking during surface preparation. Refer to ICRI Surface Preparation Guide 03732.
- Repair zone must be a minimum of 1/2 inch deep, of simple geometry, with no complex edge conditions.
- Avoid long narrow repairs; these have a greater tendency to crack.
- Apply Conpro Start where a consolidant is of benefit.
- Saturate substrate with clean water, (saturated surface dry/SSD), with no standing water during Priming or Application.
- Remove concrete from corroded steel and several inches beyond to expose non-corroded steel.
- Provide a 3/4 inch clearance between the concrete and steel.
- Damaged reinforcing steel should be examined by a qualified engineer and appropriate action taken.
Priming –Stone, Terracotta and Concrete
-
-
- Prime the prepared substrate including all edges with a bond coat of Conproco Matrix. Work the bond coat into the substrate to ensure intimate contact and establish bond. The repair mortar must be applied into the plastic bond coat. If the bond coat dries, remove and re-apply.
- Embedded Metal and Steel
- Remove all scaling rust from embedded metal and steel.
- Apply ECB anti-corrosion coating.
-
Mixing
- Measure Matrix powder and water to achieve a 4 to 4.5 parts powder to 1 part water ratio (or approximately 1 gallon per 50 lb unit of Matrix).
- Pour measured water into a clean container suitable for mixing.
- Place 1/2 of measured Conproco Matrix into mixing container with water and mix until uniform. Add remaining 1/2 Matrix to the mixing container and mix until fully blended to a uniform, lump free consistency.
- Mechanically mix using a low speed drill (400 – 600 rpm) and mixing paddle or mortar mixer.
- Additional water may be added to achieve desired consistency for placement of the Matrix. Over watering the mix will affect final color.
- For multiple batches, the additional water should be added in a uniform fashion to avoid color shift.
- Insufficient water will not hydrate the material and it will not achieve full strength. Mix only as much material as can be placed in 15 -20 minutes.
- Do not over mix, as this will entrain air.
- Do not retemper, this will affect color.
Application
- At the time of application, surfaces should be saturated surface dry (SSD) but hold no standing water.
- Follow instructions for Priming.
- Force the material against the edges of the repair, working from right to left or left to right.
- Over build repair zone by 1/4 inch.
- Shave to final form with Mitre Rod up to 2 hours (longer in cold temperatures) after application.
- Do not overwork the finish.
Curing
- Ensure repair zone stays properly hydrated. This may vary depending on ambient conditions. If hydration is not maintained, the repair may flash dry and not achieve full strength. Refer to ACRI 308R-01 for detailed curing recommendations. If the repair is inaccessible, tape polyethylene over area to retain moisture. Do not allow polyethylene to contact the material.
- Protect repair from direct sunlight, wind, rain and frost during curing period.
Clean Up
- Clean tools and equipment with water immediately after use.
- Cured material must be removed mechanically.
Warning: This product contains chemical(s) known to the State of California to cause cancer and/or to cause birth defects or other reproductive harm.
For more information go to www.p65warnings.ca.gov
| Weight | 22.67 lbs |
|---|---|
| Dimensions | 30.48 × 30.48 × 38.10 in |
| Color | K1 Light Limestone, K2 Medium Limestone, K3 Dark Limestone, K4 Sandstone, K5 Dark Sandstone, K6 Terracotta, K7 Light Brownstone, K8 Brownstone, K9 Dark Brownstone, K10 Union Brownstone, K11 Precast |
Related products
All Products
$175.67
All Products
$96.00
All Products
$308.82
Sale!
All Products
$938.40
All Products
$20.99
All Products
$280.97
All Products
$295.00


