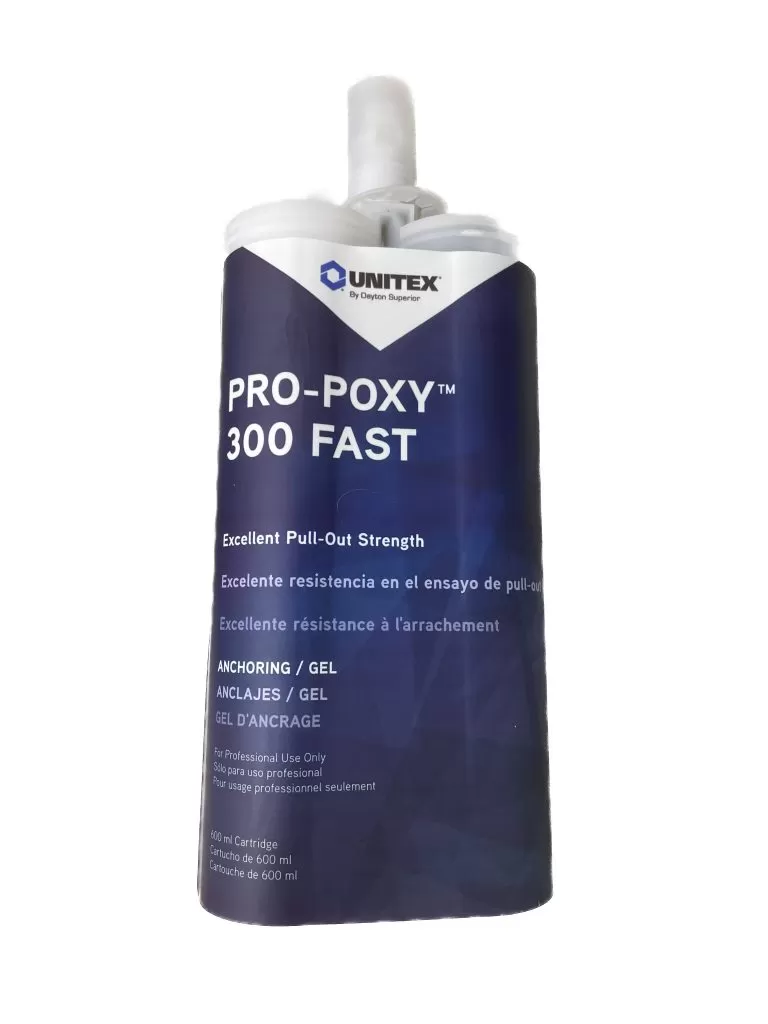
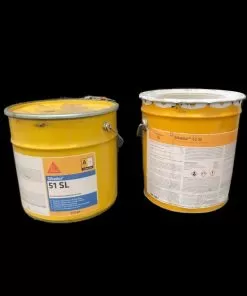
Unitex Fast Pro-Poxy 300: 20oz Dual Cartridge
$44.30
Unitex Fast Pro-Poxy 300 is a two component, moisture tolerant, 100% solids, high modulus epoxy gel adhesive that meets ASTM C881 and AASHTO M235. Pro-Poxy 300 is ideal for anchoring bolts, dowels, and reinforcing steel in concrete. It is also ideal for vertical and horizontal structural bonding and patching. Unitex Fast Pro-Poxy 300 may also be used to seal cracks and set injection ports prior to injection grouting. Condition material to 65°- 85°F (18°- 29°C) before using.
15 in stock
Unitex Fast Pro-Poxy 300 Features:
- High-strength structural adhesive
- Ideal for anchoring dowels, bolts, reinforcing steel and threaded rod
- Moisture tolerant
- Fast-setting
- Non-sag gel consistency
Storage
Unitex Fast Pro-Poxy 300 should be stored at 40°-95°F (5°- 35°C). Use prior to the “best used by date” on product label.
Surface Preparation
Surface to be bonded must be clean and sound. Remove dust, dirt, grease, laitance, curing compounds and other foreign matter by sandblasting, mechanical abrasion or hydro blasting. For drilled holes, clean with a bristle brush.
Remove all water and dust with clean compressed air prior to installation. Air and surface temperature must be 40°F (5°C) or above.
Mixing
Condition material to 65°- 85°F (18°- 29°C) before using, “pre-purging” the cartridge before putting on the static mixer to ensure uniform mixing. When using bulk packaging premix each component, then mix equal volumes of Part A and Part B for 3 minutes with a low speed drill, a jiffy mixer or paddle. Mix only what can be used during the pot life.
Placement
Step 1:
Drill hole in concrete using a rotary-percussion power drill (rotary-hammer drill) and a carbide-tipped SDS or SDS-Plus type drill bit complying with ANSI B212.15-1994, to the diameter and embedment depth adhering to minimum spacing, minimum edge distance, and minimum concrete member thickness.
Step 2:
Blow out hole using oil-free compressed air at a minimum of 70 psi with a nozzle. While blowing air, insert the nozzle into the hole until in contact with the bottom for not less than one second, and then withdraw.
Step 3:
Insert a cleaning brush for the proper drill hole diameter. Thrust the brush to the bottom of the borehole while twisting. Once the brush is in contact with the bottom of the hole, turn the brush one-half revolution, and then quickly withdraw the brush with a vigorous, twisting pull. Repeat.
Step 4:
Repeat blow out of hole with air as per Step 2 above. Repeat step 3 followed by step 2.
Step 5:
When using cartridge insert the cartridge into the extrusion tool, and attach the supplied mixing nozzle to the cartridge. Do not modify mixing nozzle. Prior to injection, dispense material through the mixing nozzle in a continuous bead until a uniform light gray color is achieved. Initial dispensed material will be darker gray in color and should not be used for installation. After uniform light gray color is achieved, insert the end of the mixing nozzle into the borehole until in contact with the bottom.
Then, dispense the adhesive while slowly withdrawing the nozzle until borehole is approximately 1/2 – 2/3 full, and then withdraw the mixing nozzle. Keep the nozzle attached on partially used cartridges. A new mixing nozzle must be used if the gel time has been exceeded between injections.
Step 6:
Mark the anchor rod with the required embedment depth. Insert the clean and oil-free anchor rod into the adhesive in the borehole, turning it slowly as it is pushed downward until contact with the bottom of the borehole.
Make sure the hole is completely filled with adhesive and that no gaps appear between the anchor rod and borehole.
Step 7:
Adjust the alignment of the anchor in the hole immediately. Do not disturb it between the Gel Time and the Minimum Cure Time. Do not torque or apply load to the anchor until the Recommended Cure Time.
PRECAUTIONS:
- Component A – Irritant
- Component B – Corrosive
- Product is a strong sensitizer
- Use with adequate ventilation
- Wear protective clothing, gloves and eye protection (goggles, safety glasses and/or face shield)
- Keep out of the reach of children
- Do not take internally
- In case of ingestion, seek medical help immediately
- May cause skin irritation upon contact, especially prolonged or repeated. If skin contact occurs, wash immediately with soap and water and seek medical help as needed.
- If eye contact occurs, flush immediately with clean water and seek medical help as needed
- Dispose of waste material in accordance with federal, state and local requirements
- Cured epoxy resins are innocuous
| Weight | 4 lbs |
|---|---|
| Dimensions | 10.16 × 5.08 × 29.21 in |
Related products
All Products
All Products
Epoxies
All Products


