


Blog
Silicone Sealant: Your Ultimate Guide
Ever wondered what keeps your bathroom tiles snug and leak-proof? Meet the unsung hero of construction and home repair – silicone sealant. This versatile material boasts impressive flexibility, water resistance, and durability. It’s a game-changer in the industry, thanks to its ability to withstand a wide range of temperatures.
But that’s not all! Once cured, this mighty sealant is non-toxic. So whether you’re fixing up your kitchen sink or sealing a window frame, silicone sealant ensures a safe and sturdy finish. So let’s dive in and get to know more about this fantastic fixer-upper!
Types of Silicone Sealants
Acetoxy Silicone Sealants
Acetoxy silicone sealants are the go-getters in the world of sealants. They cure fast, and when we say fast, we mean it. Imagine you’re sticking two surfaces together and voila! It’s done before you’ve even finished your cup of coffee. Plus, their adhesion is something to write home about. These bad boys will cling onto most surfaces like a barnacle on a ship’s hull.
Examples: General-purpose sealing, bonding glass, metal, ceramics.
Pros: Fast-curing, strong adhesion.
Cons: Releases acetic acid during curing which may corrode some metals.
Neutral Cure Silicone Sealants
Next up are neutral cure silicone sealants. Think of them as the peacemakers in the silicone sealant family. They don’t react with or corrode materials – making them ideal for use with metals and plastics that might have a hissy fit with other types of sealant.
Examples: Sealing around windows/doors, weather sealing.
Pros: Non-corrosive, great for metals and plastics.
Cons: Slower curing times compared to Acetoxy sealants.
Top Brands of Silicone Sealants
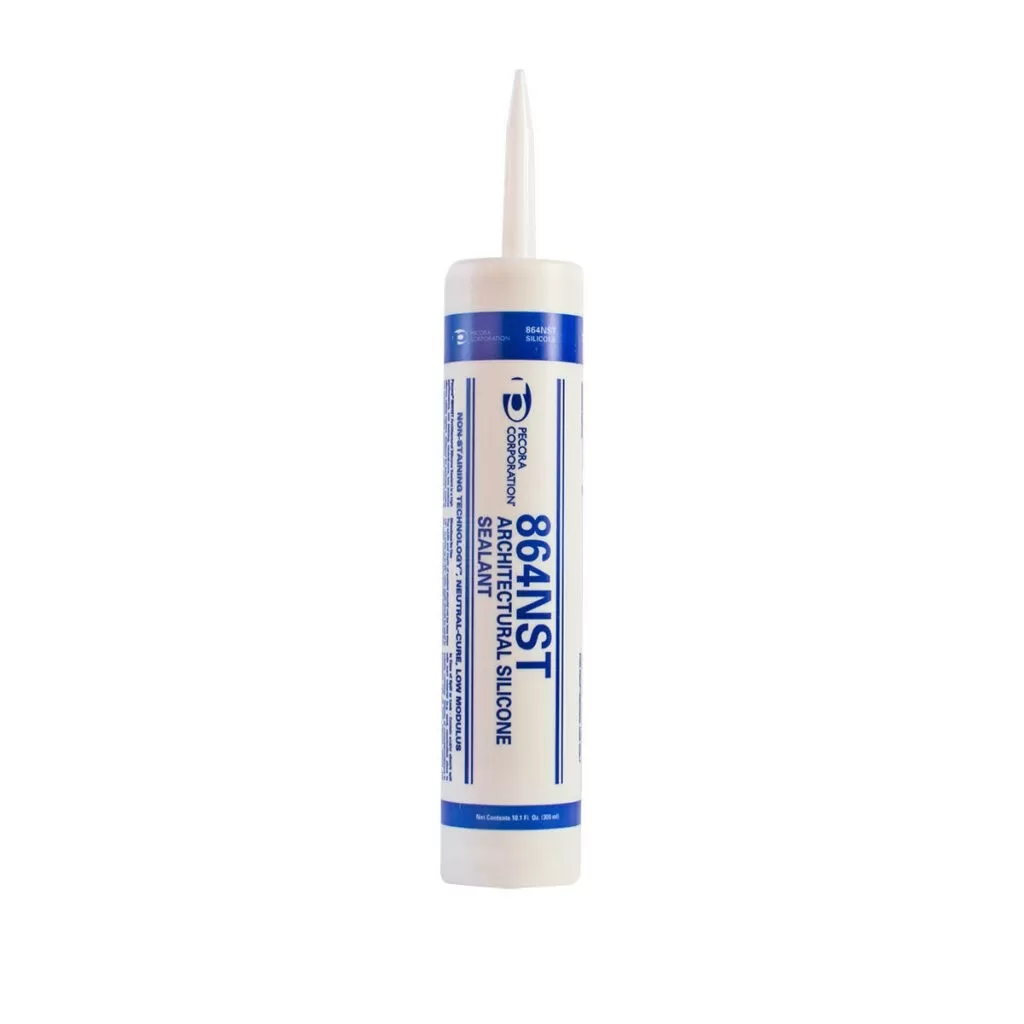
Pecora : High-Quality Products
Pecora sealants are known for high durability and quality. Their products are highly resistant against weather conditions such as water erosion and extreme temperatures. They also boast the highest UV radiation resistance of any silicone based sealant making it an excellent choice for projects where heavy exposure to intense sunlight is expected.
GE Sealants: Versatility Meets Reliability

Next up on our list is GE-branded sealants. This brand has made a name for itself through the versatility and reliability of its products. Whether you’re looking to seal your kitchen sink or your bathroom tiles, GE’s got you covered with their wide range of applications. Their All-Purpose Silicone I* and Advanced Silicone II* are prime examples, offering 10-year mold-free product protection† and 40% more flexibility than Class 25 sealants respectively.
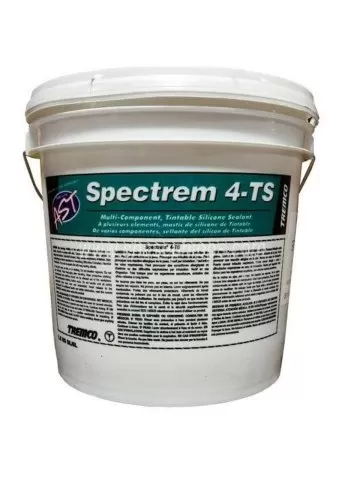
Tremco: Strength-Focused Product Line
Tremco is another brand known for its incredible resilience and long lasting performance. It can take a beating and keep on going strong. Weathering, UV radiation, chemicals, water, and even hot and cold, Tremco sealants can withstand it all. This strength allows it a longer lifespan than most silicone sealants so it’s excellent for jobs where maintenance can’t be done regularly or for construction jobs exposed to the elements. So if you need a sealant that has the strength to withstand whatever you throw at it, look to Tremco for what you need!
Sika: User-Friendly Application Process
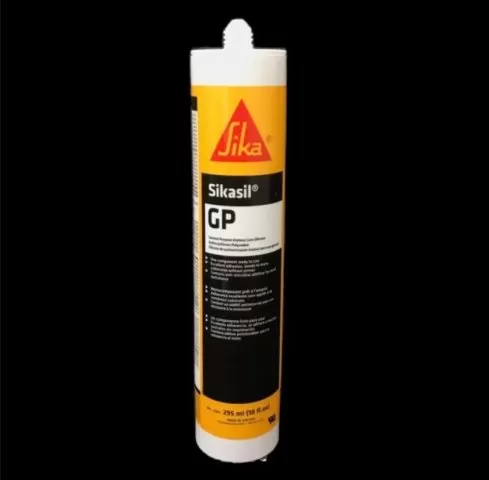
Sika sealants are nice and easy to apply and will bond to almost any material without the need of a primer. They also offer excellent flexibility and the ease of bonding means it’s perfect for those hard to reach spots. It’ll even keep that flexibility when it’s extremely hot or cold, so feel free to use it no matter the weather or conditions. Sika also has a fast cure time and fits most caulking guns making it good for situations where you have to move assembled or sealed parts quickly such as in industrial purposes.
To sum it up:
Each brand brings something unique to the table. So next time you’re in need of some sealing done around your house or office space remember these brands and look to see which one suits your needs the best!
Practical Applications of Silicone Sealant
Bathroom Leakage Prevention
Ever noticed that small bead of clear or white material around your bathroom tub or sink? That’s silicone sealant, the unsung hero in our bathrooms. Its role is essential – preventing water leakage. It acts as a waterproof barrier, ensuring no water seeps into places it shouldn’t be, like behind tiles or under the bathtub. Without it, we’d have constant dampness and potential for mold growth.
Example: A homeowner notices water seeping out from under their bathtub after every shower. By applying silicone sealant along the edge of the tub where it meets the floor, they can effectively stop this leakage and prevent any further damage.
Energy Efficiency in Windows
Silicone sealant isn’t just about keeping things watertight; it’s also a great way to improve energy efficiency at home. By sealing gaps around windows with silicone sealant, you can keep cold air out during winter and hot air out during summer. This reduces the need for heating or cooling systems to work overtime, leading to lower energy bills.
Stat: According to Energy Star, homeowners can save up to 20% on heating and cooling costs by sealing and insulating windows.
How to Apply Silicone Sealant Correctly
Prepping the Surface
First things first, you gotta make sure your surface is prepped right. It’s like cooking, you know? You wouldn’t just throw a steak on a dirty grill. Same thing here. Before you even think about applying silicone sealant, ensure that the surface is clean, dry, and free from any dust or debris.
You might be thinking “Why bother?” Well, it’s simple really – a clean surface ensures a better bond between the sealant and the material. If there’s dust or dirt in there, it can prevent the sealant from sticking properly which could lead to leaks down the line. And nobody wants that!
Cutting the Nozzle
Next up is cutting your tube nozzle to size. This ain’t one-size-fits-all kinda deal; you gotta tailor it based on how big of a bead you need.
Small bead? Cut closer to the tip.
Larger bead? Cut further down.
It’s just like icing a cake! The more icing (or in this case sealant) you want to squeeze out, the bigger cut you need on your nozzle.
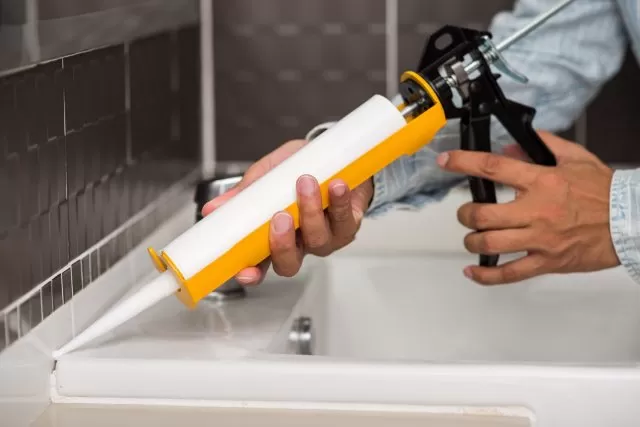
Applying and Smoothing Out
Alrighty then! Now comes the fun part – laying down that bead of sealant. Squeeze it out nice and steady along your seam or joint.
Once applied, don’t leave it all raggedy-edged! Smooth out that bead with either:
A smoothing tool (if you’re fancy)
Your finger (totally cool too)
Just remember if using your finger for this job, slap on some gloves first – unless you’re into having sticky fingers for days!
Addressing Common Silicone Sealant Issues
Fixing Shrinkage or Cracking Post-Application
Ever noticed your silicone sealant shrinking or cracking after application? It’s a common issue, but don’t fret. Here’s how you can fix it:
Remove the old sealant using a utility knife.
Clean the area with rubbing alcohol to remove any residue.
Apply a fresh layer of silicone sealant.
Remember, patience is key when applying silicone sealant. Let it cure properly to avoid shrinkage and cracking.
Dealing with Improper Adhesion Due to Unclean Surfaces
Silicone sealants can be fussy, they need clean surfaces for proper adhesion. If you’re having trouble with this:
Clean the surface thoroughly before application
Use rubbing alcohol or an adhesive remover for stubborn dirt
Ensure the surface is dry before applying the sealant
A bit of prep work goes a long way in ensuring proper adhesion!
Addressing Discoloration Caused by Mold or Mildew
Got mold or mildew causing discoloration on your seals? Here’s what you can do:
Mix equal parts of water and white vinegar.
Spray the solution onto the discolored area.
Let it sit for about 15 minutes then scrub off using a brush.
Voila! No more unsightly discolorations!
Remedying Premature Failure Due to Inadequate Curing Time
Premature failure of silicone sealants due to inadequate curing time can be frustrating, right? But we’ve got some tips for you:
Always check the manufacturer’s instructions for curing time
Resist the urge to use it before it’s fully cured
Keep in mind, colder temperatures may require longer curing times
With these tips, premature failures will be a thing of the past!
Maintaining Your Silicone Sealants
Regular inspection of your silicone sealants is like getting regular check-ups at the doctor. It’s a preventative measure that can save you a lot of hassle down the line. The key here isn’t to wait until there’s an evident problem; instead, make it a habit to inspect your sealants every few months. Look for signs of wear or damage such as cracking, peeling, or discoloration.
Cleaning without Compromise
You’ve gotta be as gentle as a lamb. Aggressive cleaning methods might seem effective in the short term but they can compromise the integrity of seal over time.
Here are some pointers:
Avoid abrasive cleaners and tools
Use mild soap and warm water
Dry thoroughly after cleaning
It’s like caring for a delicate piece of clothing – you wouldn’t just throw it in with your everyday laundry, would ya?
Reapplication: Timing is Everything
Now let’s talk about reapplication. It’s not something you need to do every other weekend; think more like every couple of years or so (or when you notice significant wear). Just remember: don’t rush into it. Make sure the area is clean and dry before applying new sealant.
Remove old sealant carefully
Clean and dry the surface
Apply new caulk evenly
Let it cure completely before exposing it to moisture
It’s like repainting your house – timing, preparation, and patience are all part of the process.
Storage Savvy
Finally, let’s chat about storage conditions – they’re more important than you might think! Improper storage can shorten the lifespan of your silicone sealant before you even get a chance to use it.
Consider these tips:
Store in cool, dry place
Keep away from direct sunlight
Ensure cap is tightly sealed after use
Think about how you’d store fine wine – similar rules apply!
Maintaining silicone sealants isn’t rocket science; with regular inspections, careful cleaning, timely reapplications and proper storage conditions, they’ll serve you well for years to come!
FAQs
Some of the top brands include GE, Pecora, Tremco, and Sika which are known for their high-quality products.
Applying silicone sealant requires precision and patience. Ensure surfaces are clean before application for optimal results.
Some common issues include shrinkage over time or improper application which can lead to leaks.
Regular inspection and timely replacement when necessary will ensure longevity of your silicone sealants.
Yes, there are various types designed for different applications such as bathroom use or outdoor exposure. There are also types such as Acetoxy and Neutral Cure which are both mentioned earlier in this article.
Many common issues can be handled DIY style but if unsure always consult a professional.
Brand can indicate quality and traits so researching brands before purchase may influence decision making.