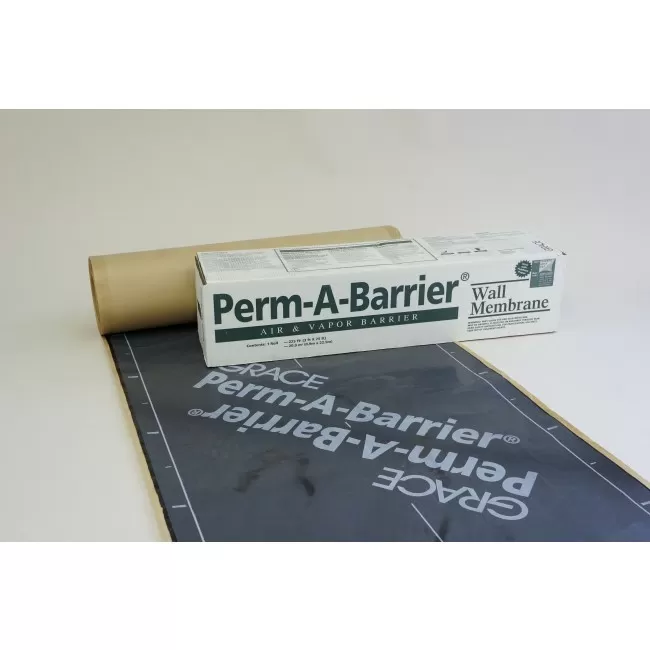
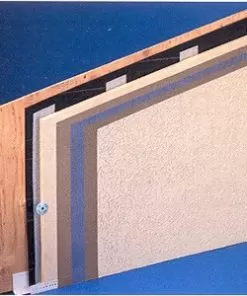
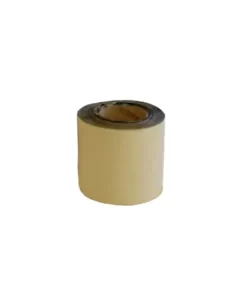
Perm-A-Barrier Wall Membrane
$68.58 – $340.98Price range: $68.58 through $340.98
- Fully bonded – transmits wind loads directly to the substrate
- Waterproof and impermeable to moisture – impermeable to the passage of liquid water and water vapor
- Airtight – protects against air passage and associated energy losses. Meets new ASTM E2357 standard as required by IECC 2012
- Cross laminated film – provides dimensional stability, high tear strength, puncture and impact resistance
- Cold applied – no flame hazard; self-adhesive overlaps ensure continuity
- Flexible – accommodates minor settlement and shrinkage movement
- Controlled thickness – factory made sheet ensures constant, non-variable site application
- Aggressive, conformable adhesive – allows self-sealing around mechanical fasteners
- Coverage Rate – See page 6 of the Technical Data Sheet for the coverage chart
Perm-A-Barrier Wall Membrane
Perm-A-Barrier Wall Membrane is ideal for protecting the building superstructure from the damaging effects of the elements. By minimizing air and water vapor flow through the building exterior, Perm-A-Barrier Wall Membranes:
- Prevent premature deterioration of the building envelope
- Enhance thermal performance of the structure and save energy costs
- Improve comfort for the building occupants
Surface Preparation
Surface must be smooth, clean, dry and free of voids, spalled areas, loose aggregate, loose nails, sharp protrusions or other matter that will hinder the adhesion or regularity of the wall membrane installation. Clean loose dust or dirt from the surface to which the wall membrane is to be applied by wiping with a clean, dry cloth or brush.
If the substrate is damp, allow to dry or use Bituthene Primer B2 LVC to prepare the area to receive the membrane.
Membrane Application
Cut membrane into easily handled lengths. Apply membrane horizontally or vertically to primed substrates receiving post-applied masonry anchors (ties), such as gypsum sheathing.
Apply Perm-A-Barrier Wall Membrane horizontally to the primed blockwork with projecting masonry anchors (ties), beginning at the base of the wall. Each length of the membrane must be installed so that the upper edge runs continuously along the underside of the line of masonry anchors (ties). Subsequent sheets applied above must overlap the sheet below by 2 in. (51 mm) immediately below the line of anchors (ties). Since the membrane width appropriate for this application of 18 in. (457 mm) is wider than the typical spacing between the lines of anchors (ties) 16 in. (406 mm), it will be necessary to cut the membrane at the location of the tie wires projecting from the wall to enable the sheet to be laid in place. End laps that occur in subsequent lengths that follow should maintain a minimum overlap of 2 in. (51 mm). See Figures 1 and 2.
The membrane must be pressed firmly into place with a hand roller or the back of a utility knife as soon as possible, ensuring continuous and intimate contact with the substrate to prevent water from migrating under the membrane.
In certain applications such as on soffits, ceilings or substrates such as oriented strand board (OSB), backnail the membrane along the side lap prior to installing the next sheet of membrane to ensure positive contact to the substrate. Additional fastening may be required through the field of the membrane in these applications and must be sealed with S100 Sealant, Bituthene Liquid Membrane or Bituthene Mastic.
Apply S100 Sealant, Bituthene Mastic or Bituthene Liquid Membrane to seal around the tie wire projections. Fit the Perm-A-Barrier Wall Membrane tightly around all penetrations through the membrane and seal using S100 Sealant, or Bituthene Liquid Membrane.
Continue the membrane into all openings in the wall area, such as windows, doors, etc., and terminate at points that will prevent interior visibility. The installation must be made continuous at all framed openings. Coordinate installation of the Perm-A-Barrier Wall Membrane with the roofing trade to ensure continuity with the roofing system at this critical transition area.
At the end of each working day, if the wall has been only partially covered, apply a bead of Bituthene Mastic or Bituthene Liquid Membrane along the top edge of the membrane at its termination to prevent vertical drainage of precipitation from penetrating the end and undermining the membrane adhesion. Tool the Bituthene Mastic or Bituthene Liquid Membrane to ensure it is worked into the surface. For final terminations that will not be covered with membrane, S100 Sealant can be used in lieu of Bituthene Mastic or Bituthene Liquid Membrane. Inspect the membrane before covering and repair any punctures, damaged areas or inadequately lapped seams.
All non water shedding edges must be sealed with S100 Sealant, Bituthene Liquid Membrane or Bituthene Mastic.
Finish your perm-a-barrier system with GCP
| Weight | N/A |
|---|---|
| Dimensions | N/A |
| Size | 6"x75', 9"x75, 18"x75', 24"x75', 36"x75' |
Related products
Air and Vapor Barrier
Air and Vapor Barrier
Air and Vapor Barrier
Air and Vapor Barrier
Air and Vapor Barrier
Air and Vapor Barrier
Air and Vapor Barrier
Air and Vapor Barrier


